There are three correct ways to filter sunlight for visual observation. There is white-light filtration with a properly fitted full-aperture filter, there is hydrogen-alpha observation with an integrated etalon-based system, and there is solar projection. There are no others.
Solar projection is the only technique that requires no filter on the instrument itself. It is also the only technique that should not be used with a telescope larger than about eighty millimetres of aperture, because the heat concentration at the eyepiece can damage the eyepiece and become a fire hazard.
For everyone else with an objective above eighty millimetres, and for many beneath, the question is which filter to use. Anselm Bauer has built his own filters for thirty years and recommends the practice. The reason is not primarily cost. It is quality control.
A homemade objective filter, properly built from the correct material, has known provenance. The amateur knows where the filter material came from, how it was handled, and what the cell does. A commercial filter sold by a reputable manufacturer is also safe, but the amateur cannot inspect the manufacturing process and must rely on the manufacturer's reputation.
Both approaches work. The homemade approach is what this article describes.
The only material Bauer recommends for the optical element is Baader AstroSolar Safety Film in the ND 5.0 visual density. It is manufactured by Baader Planetarium in Germany, available in A4 sheets for around thirty euros, and certified to ISO 12312-2 for direct solar observation.
Other films exist. Some are sold for solar work and may be safe. Some are sold for photographic work, with a lower visual density of ND 3.8, and are not safe for direct visual observation. The packaging is not always clear. The conservative practice is to buy only ND 5.0 visual film, only from Baader or an explicitly authorized reseller, and to discard anything from an uncertain source.
There are no acceptable substitutes. Bauer is unsentimental on this point. Smoked glass is not acceptable. CD-ROMs are not acceptable. Sunglasses, including welding glasses below shade 14, are not acceptable. A bank of stacked photographic neutral-density filters is not acceptable, because the visual density and the infrared density are different quantities, and a stack that looks dark to the eye may transmit dangerous infrared.
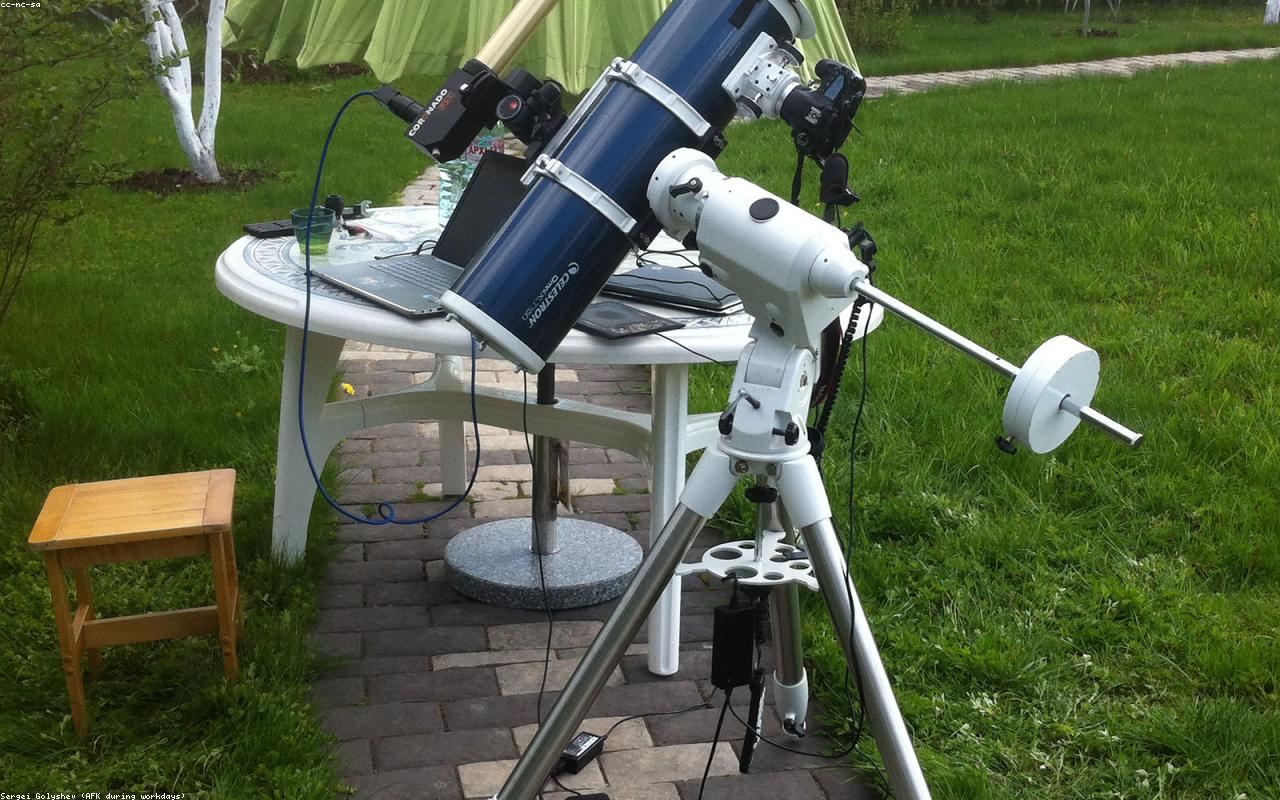
The film, once acquired, requires a cell. The cell does three things. It holds the film flat without tension, it attaches securely to the objective, and it cannot accidentally fall off.
Bauer's preferred cell construction uses two rings of stiff cardboard or thin plywood, cut to the outer diameter of the telescope's dew shield. The film is sandwiched between the two rings with the gentlest possible tension, just enough to keep it flat without stretching it. The rings are then taped together with a wide black gaffer tape.
The completed cell slides over the dew shield with a friction fit. Bauer adds a secondary retaining strap, a loop of elastic cord, that hooks over a small nub of tape on the underside of the dew shield. The strap prevents the cell from being knocked off by an unexpected movement.
This is overkill in normal circumstances. It is the correct level of caution.
The film, in its cell, should be inspected before every session. Bauer holds the assembled cell up to a bright domestic lamp and looks through it from the eyepiece side. The film should appear uniformly dark with no bright pinholes, no tears at the edge where the film meets the ring, and no scratches across the optical surface.
If a single pinhole is visible, the filter is retired. The film may sometimes be patched with a small square of additional film taped over the pinhole on the front side, but the practice is unforgiving and Bauer prefers to start over with a fresh sheet.
Pinholes most often develop at the edge of the cell, where the film is in slight tension. They sometimes appear in the centre after several years of use, the cause unclear, possibly thermal cycling.
Bauer replaces his filters every two years on schedule, regardless of apparent condition. The cost of a new sheet is small. The cost of not replacing is large.
Once the filter is mounted and inspected, the procedure for first acquisition of the Sun is the part beginners most often improvise. There is a correct procedure.
Cap the finder. The finder is a small telescope. It will concentrate sunlight onto whatever is at the eyepiece, including the observer's eye if the observer happens to be looking through it. Bauer recommends a hard cap on the finder objective, not a soft cover, and recommends keeping it on at all times during solar observing.
Aim the main instrument at the Sun by watching the shadow of the telescope on the ground. The shadow shrinks to its smallest size when the instrument is pointed exactly at the Sun. This is the standard technique and works reliably.
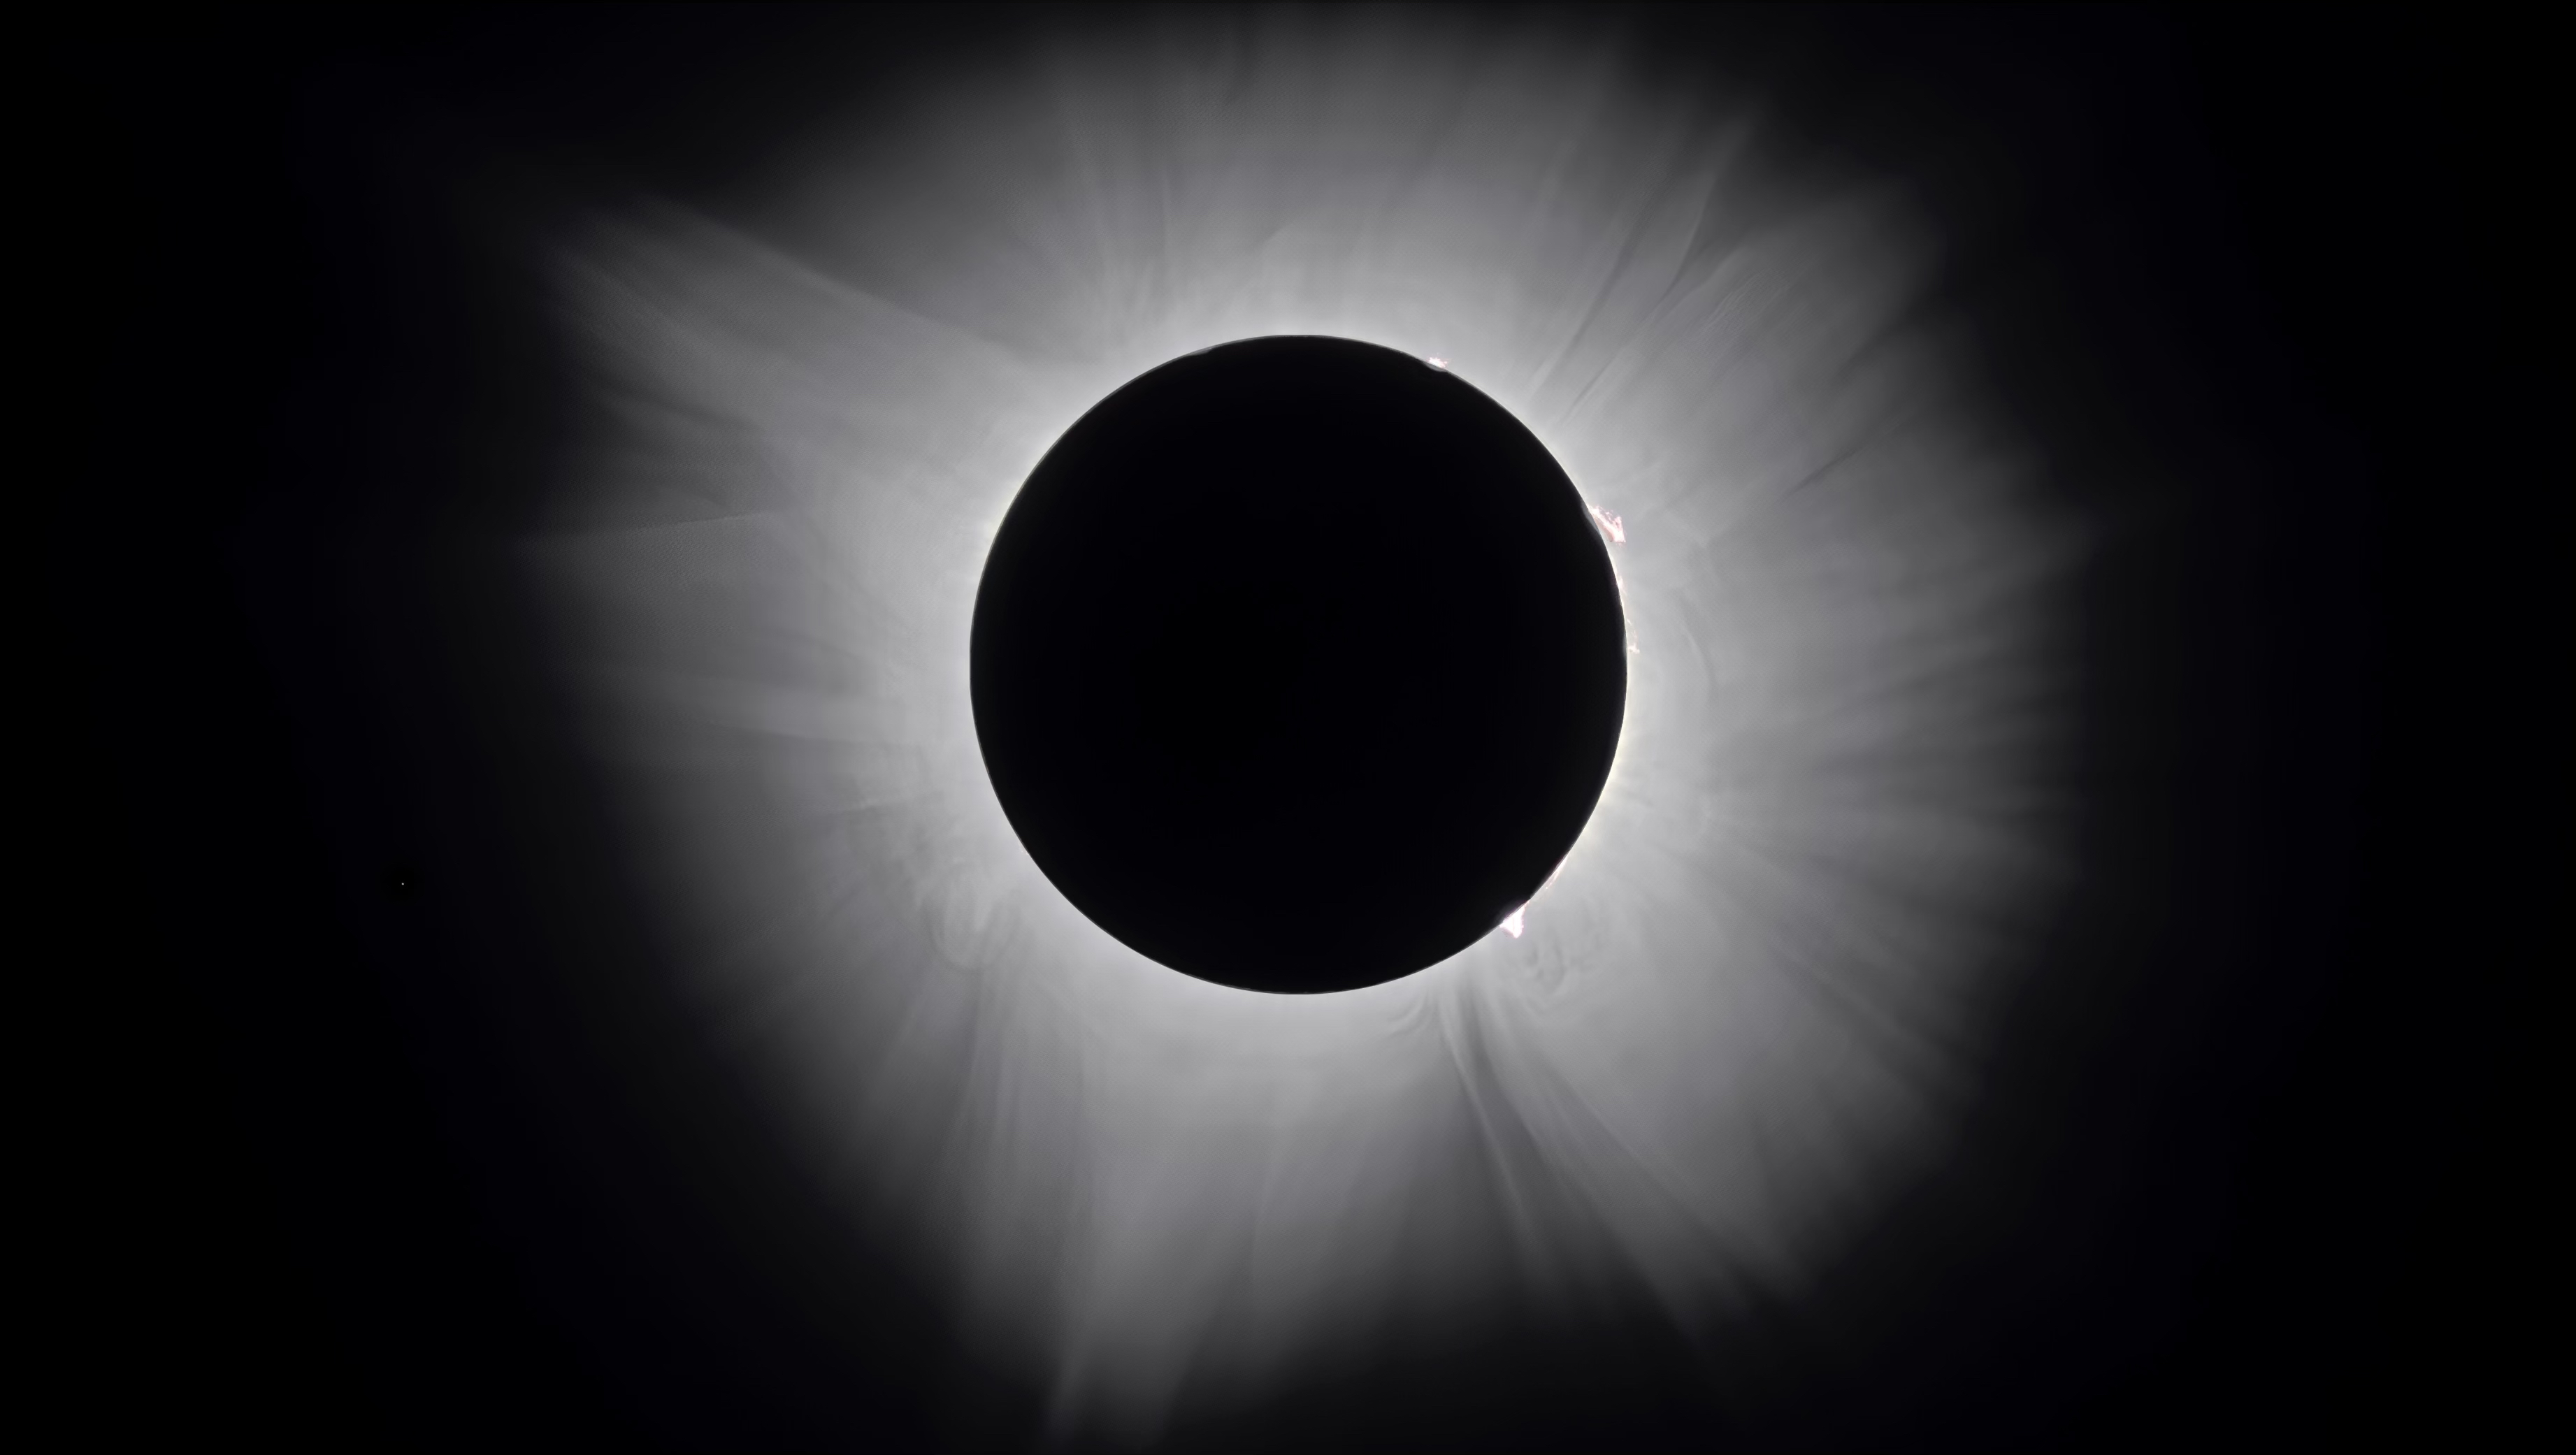
Focus and view. The Sun will appear as a sharply edged disc, with whatever sunspots are currently present visible against the photosphere. The colour is typically yellow-orange through the Baader film, which differs from some other films that produce a whiter image.
Children near the instrument are watched, every second. This is not a small caveat. A child who looks through an unfiltered finder, or who looks at the Sun unprotected while waiting for a turn at the eyepiece, can be permanently injured. The supervision of children at a solar session is the responsibility of the adult who set up the equipment.
Bauer has, in three decades of teaching solar observing, seen no eye injuries among his students. He attributes this not to luck but to a sustained refusal to relax the safety protocols even at the moments when relaxing them would seem perfectly reasonable.
The protocols, kept simple and held without exception, are what makes the practice safe. Built correctly, used correctly, a homemade solar filter will show the amateur a Sun they will not tire of looking at.
Filed under